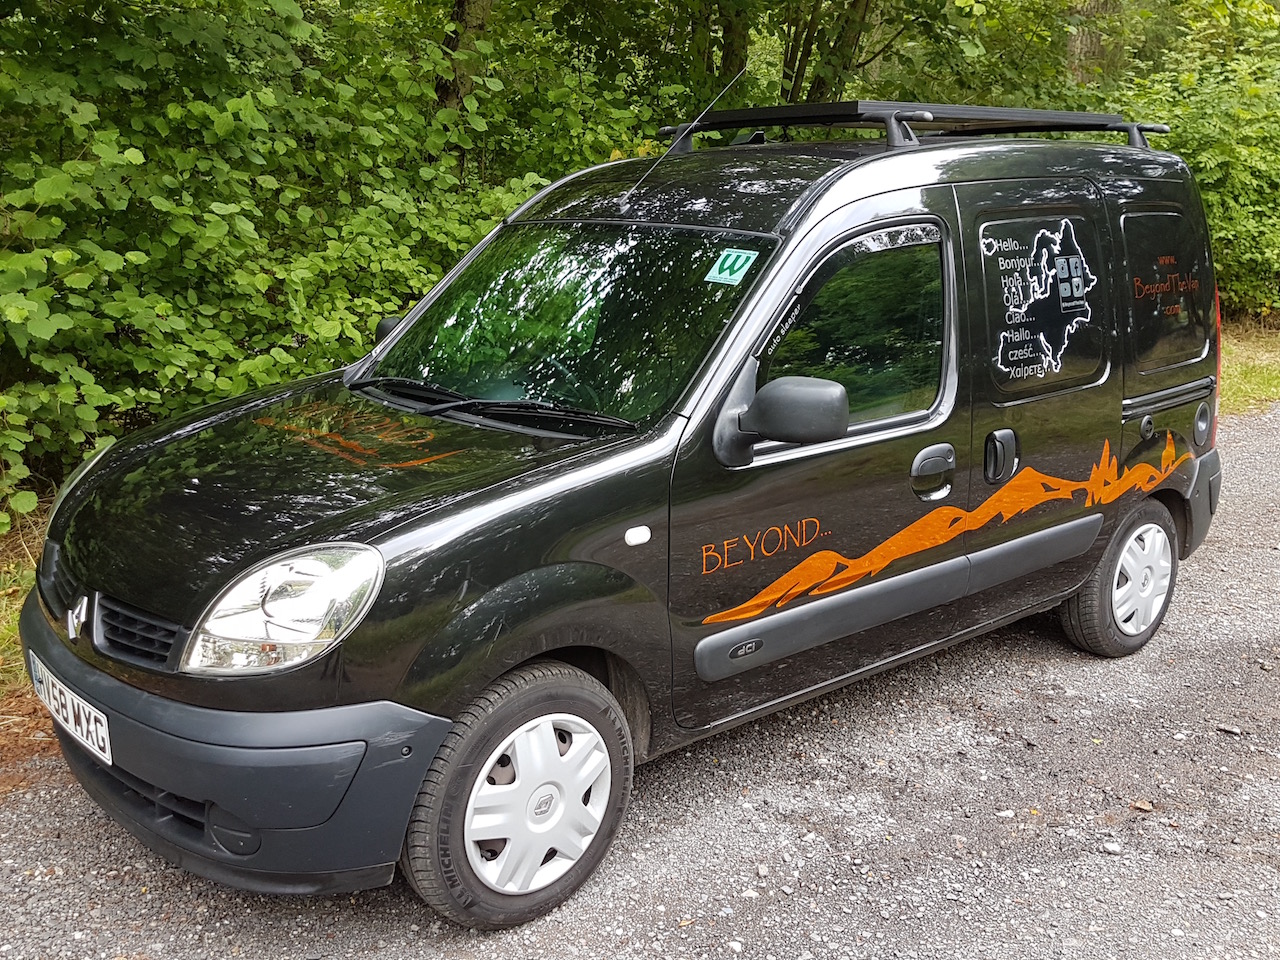
Kangoo Micro Camper – Original
![]()
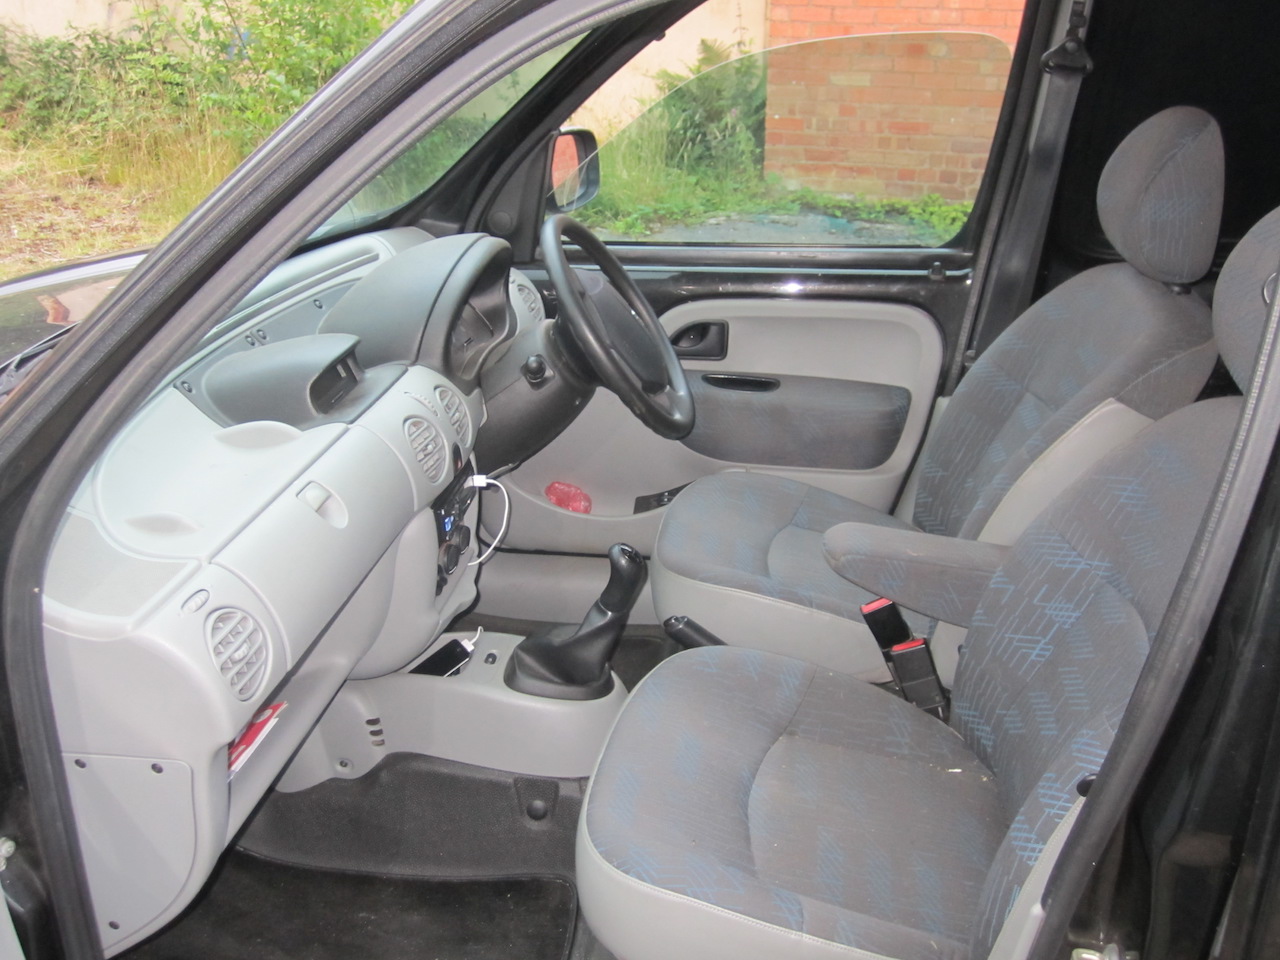
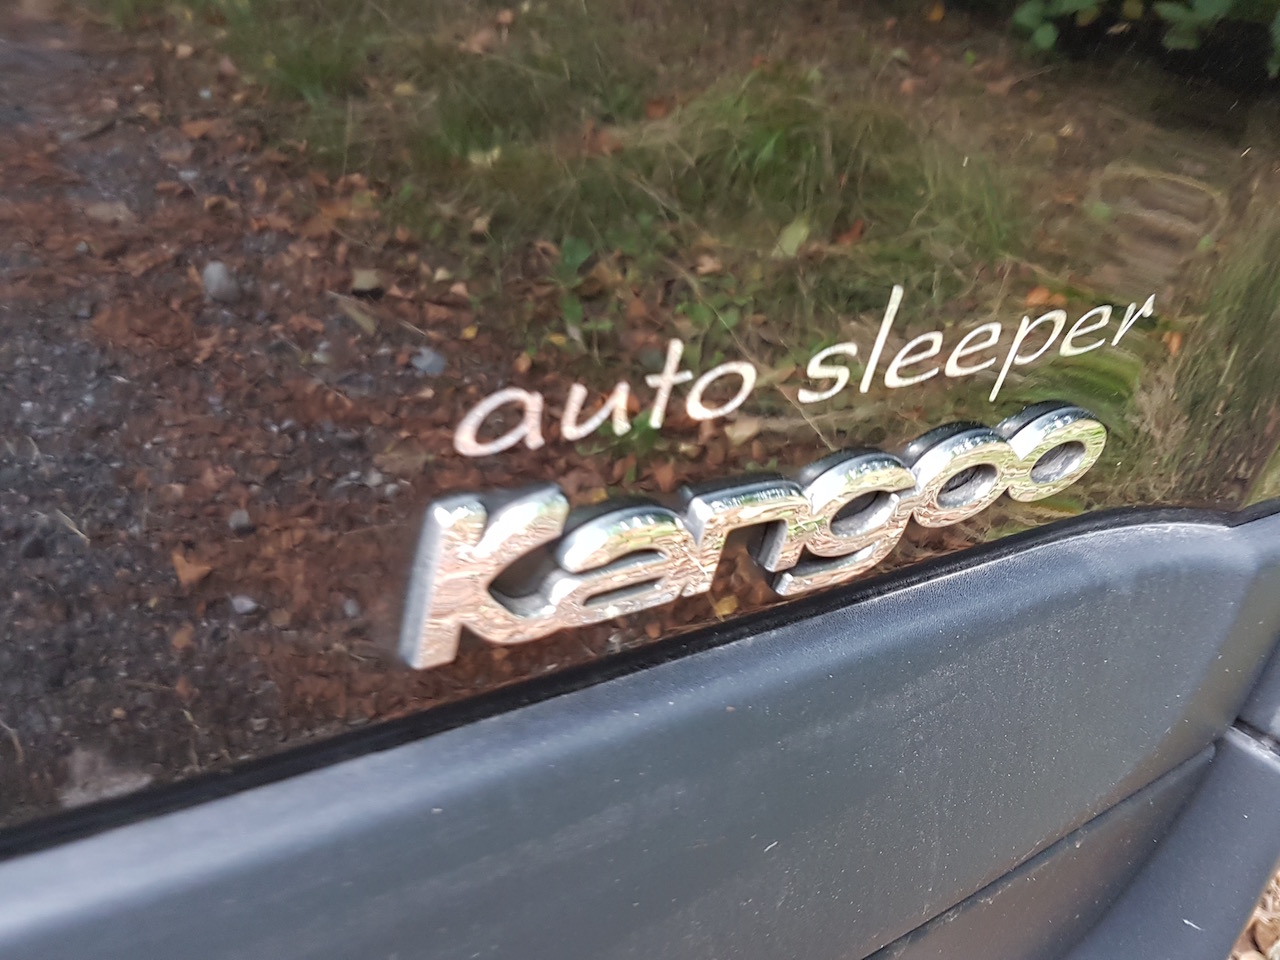
A 2008 Kangoo van in metallic black. 1.5 dCi turbo diesel engine with 82,000 miles on the clock.

Purely designed as a travel van, there are a few certain features I want to build into it:
- Comfy sofa for the rainy days
- Comfy bed
- Basic cooking facilities
- Sink or wash basin with running water
- Off grid capable power for gadgets
- Bed suitable for two
- Storage
- Toilet
- Shower
Yes, you read that right – a shower! I love to be able to shower… So, I was determined to fit all this into this tiny camper. And here’s how I did it…
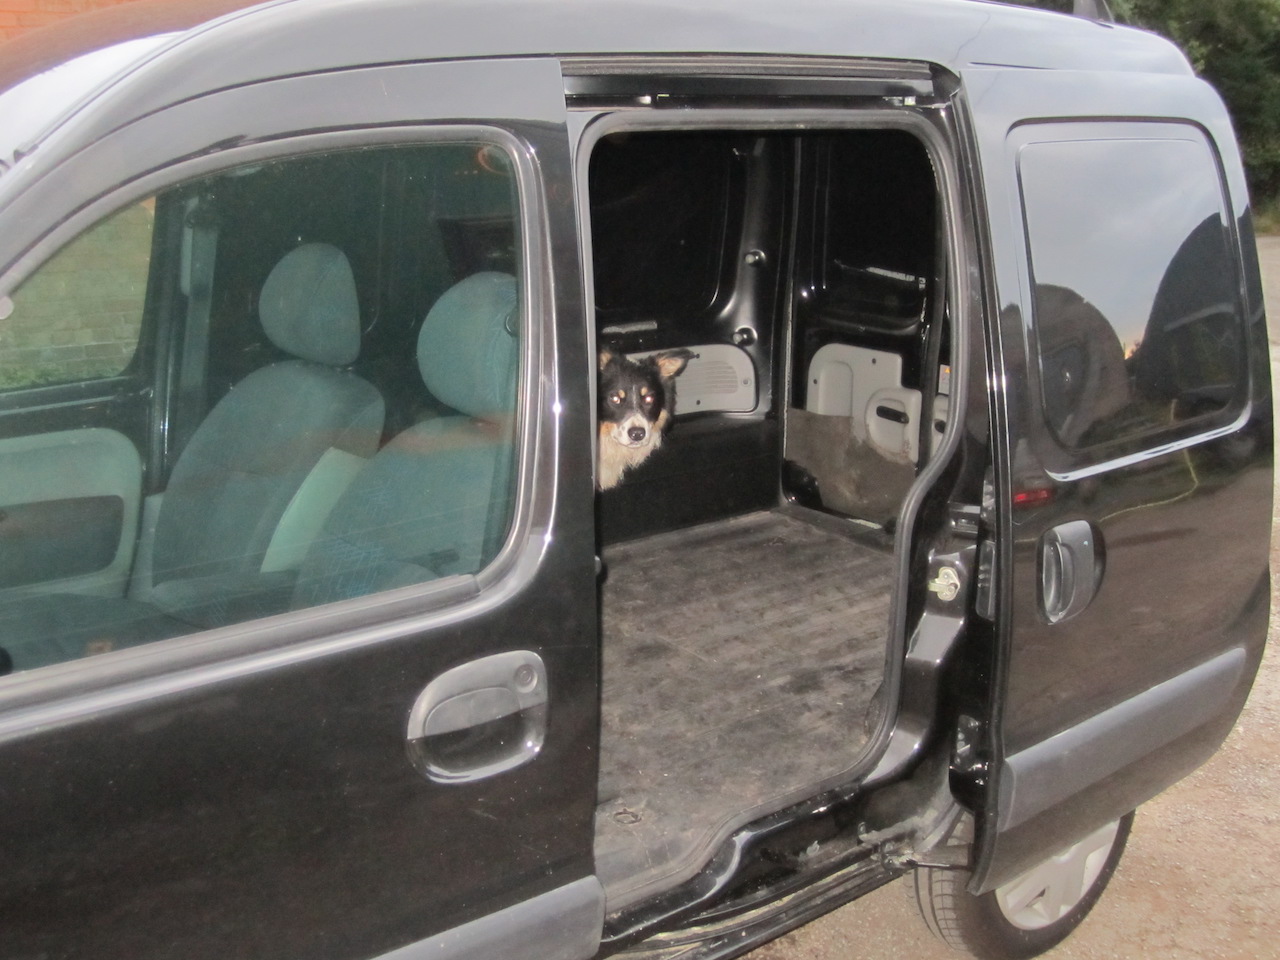
Someone’s already keen to get started!
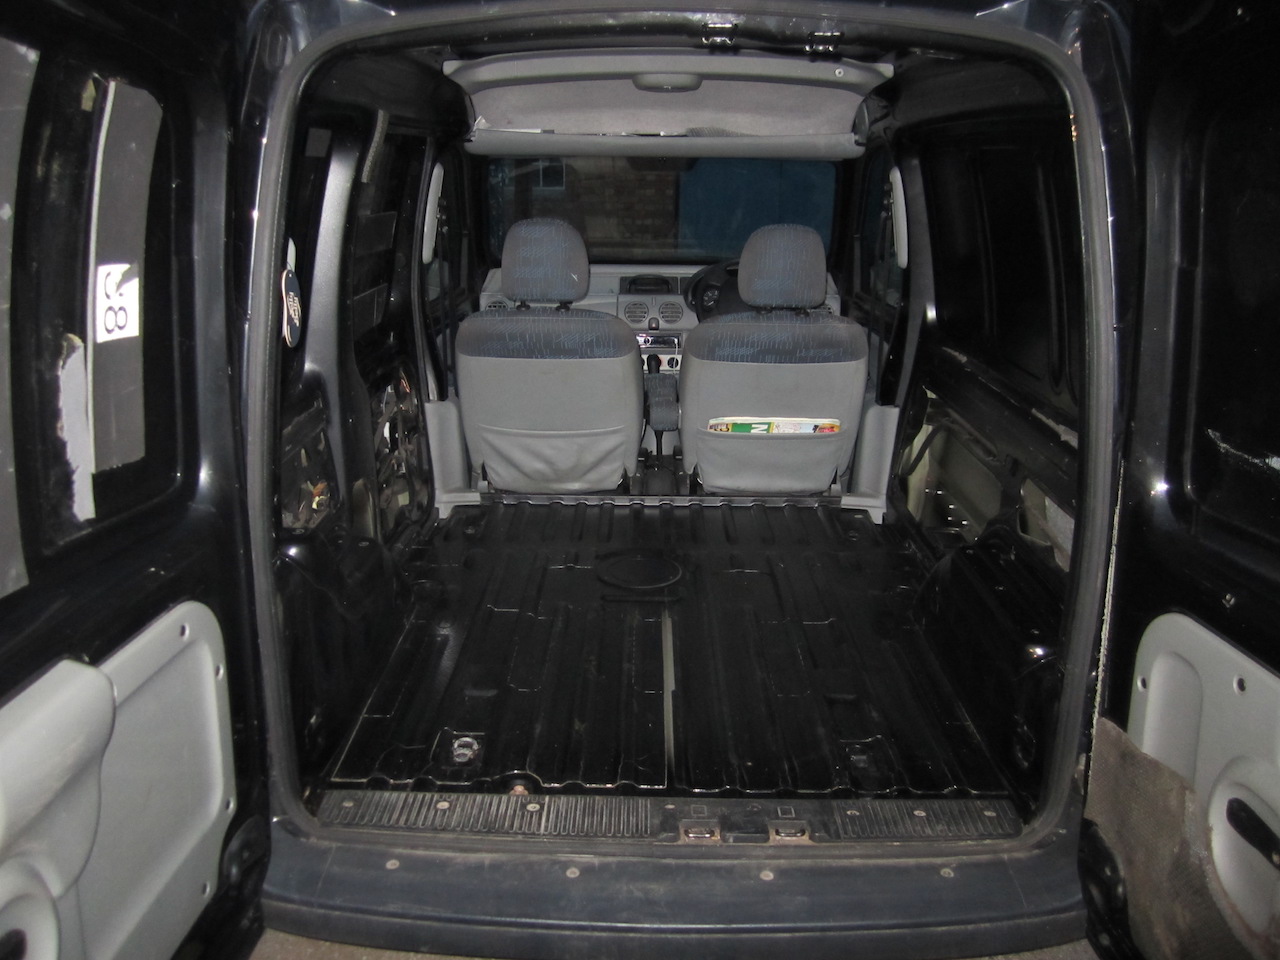
The Build
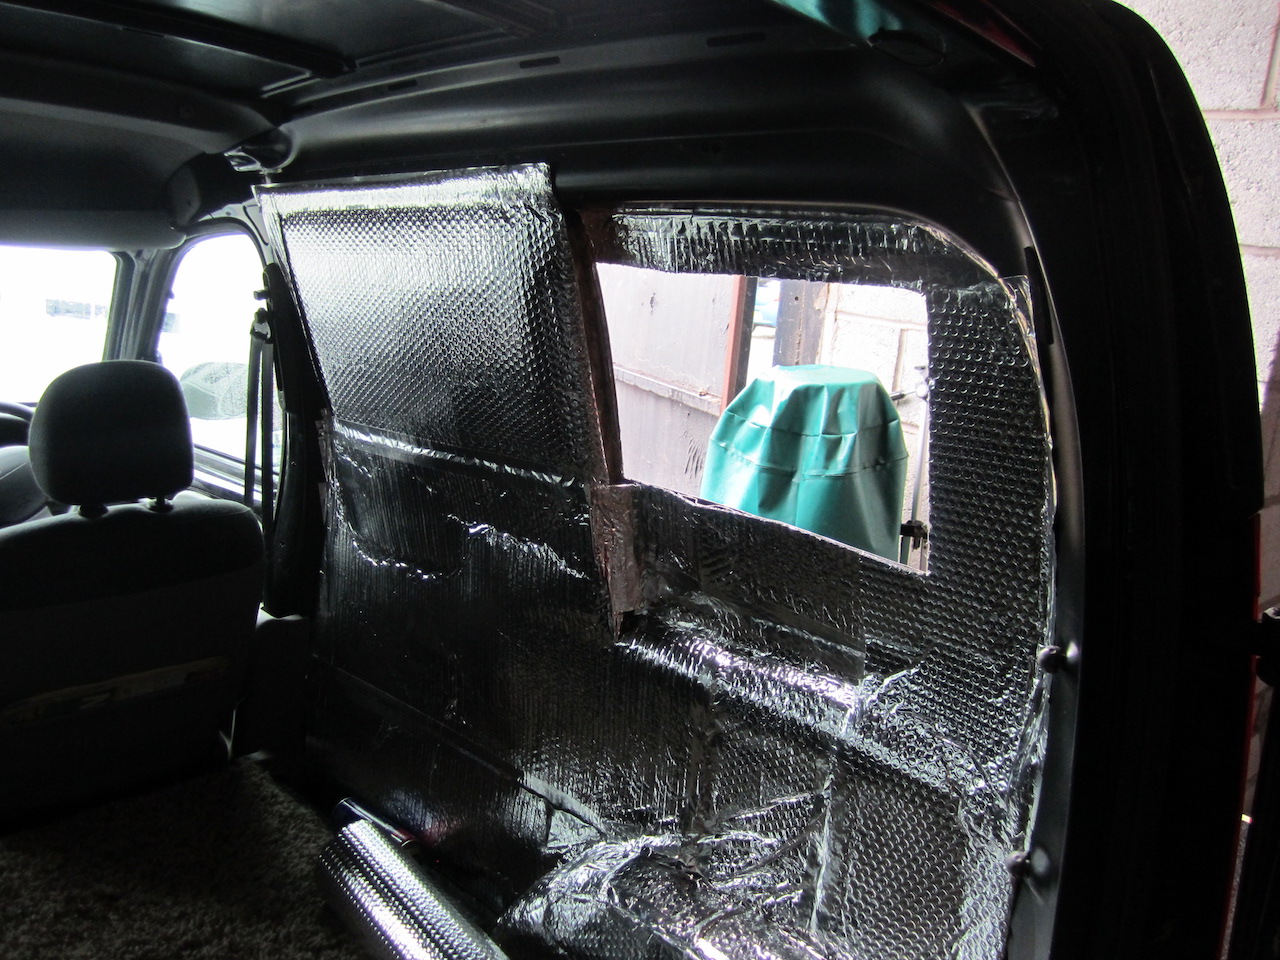
Insulation
I measured up and positioned the ply lining, but before I could fit it I needed to insulate the van. Being a black van, I want to block incoming heat in the summer and of course retain the heat in the winter.

The important part of this conversion is keeping weight to a minimum. Booting my passenger out isn’t always the best way to do this. Especially if she’s paying for dinner.

Using aluminium bubble wrap type insulation and spray glue, I completely covered the inside of the van. This was all joined together and sealed using aluminium tape.
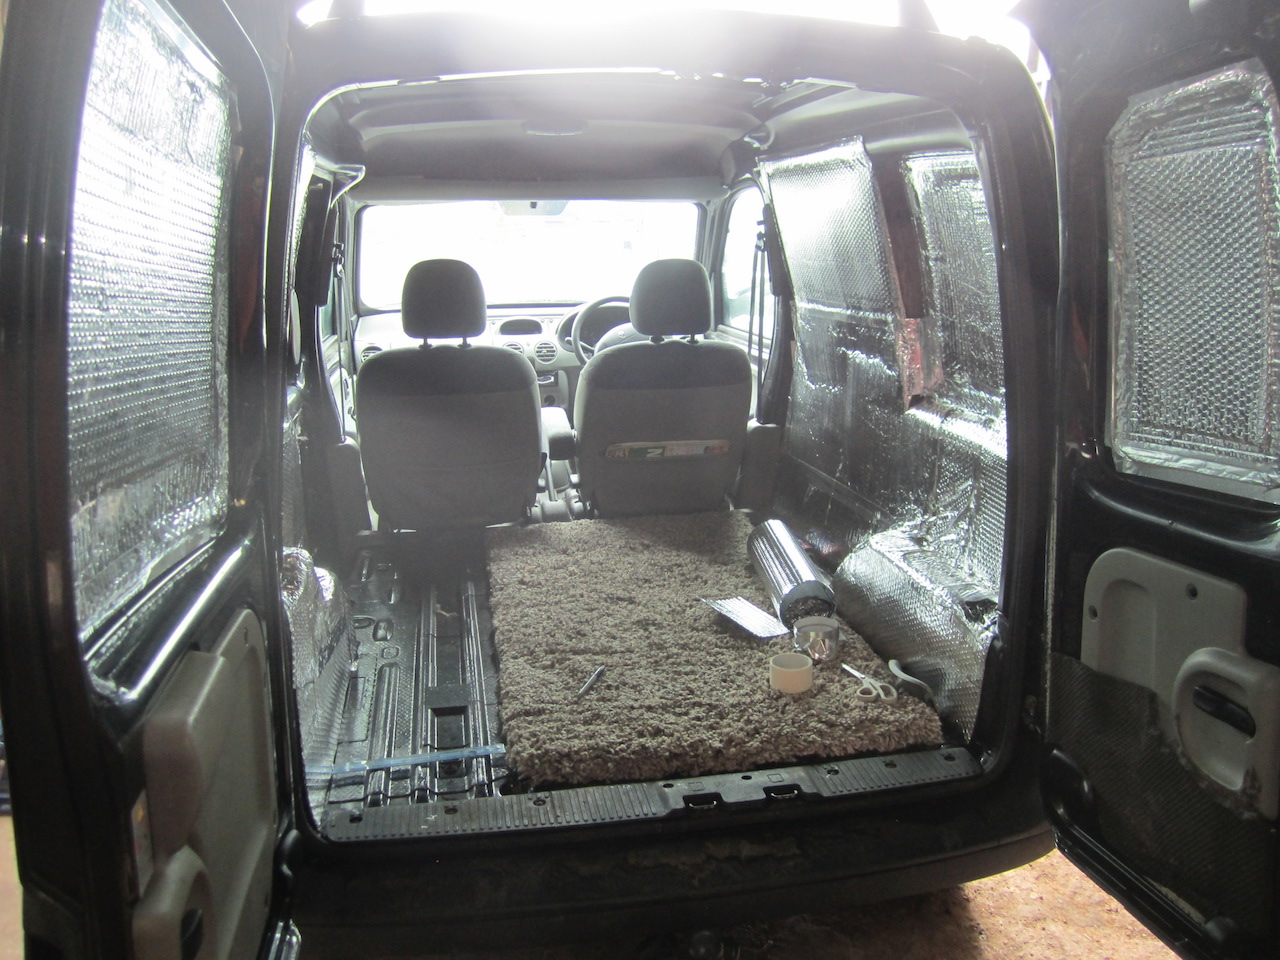
Next came a layer of rock wool.
Then another layer of aluminium bubble wrap, again sealed with aluminium tape. We now have a moisture barrier.
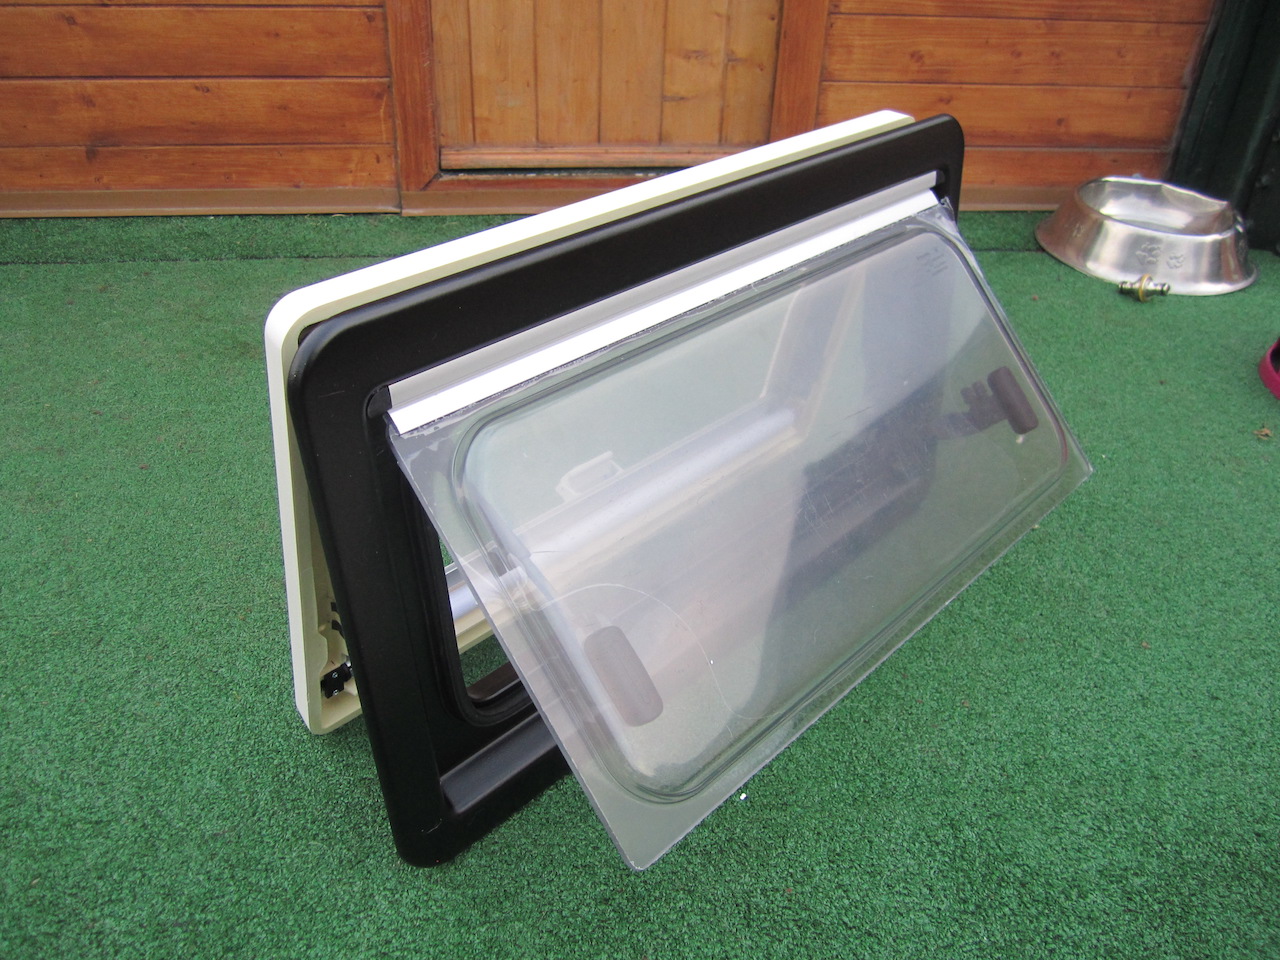
Side window
I stayed in the van overnight when I first bought it, to test it out! One thing that was really apparent was the lack of air in the night! An opening side window was needed…
Time to cut a hole in the side of my new van!
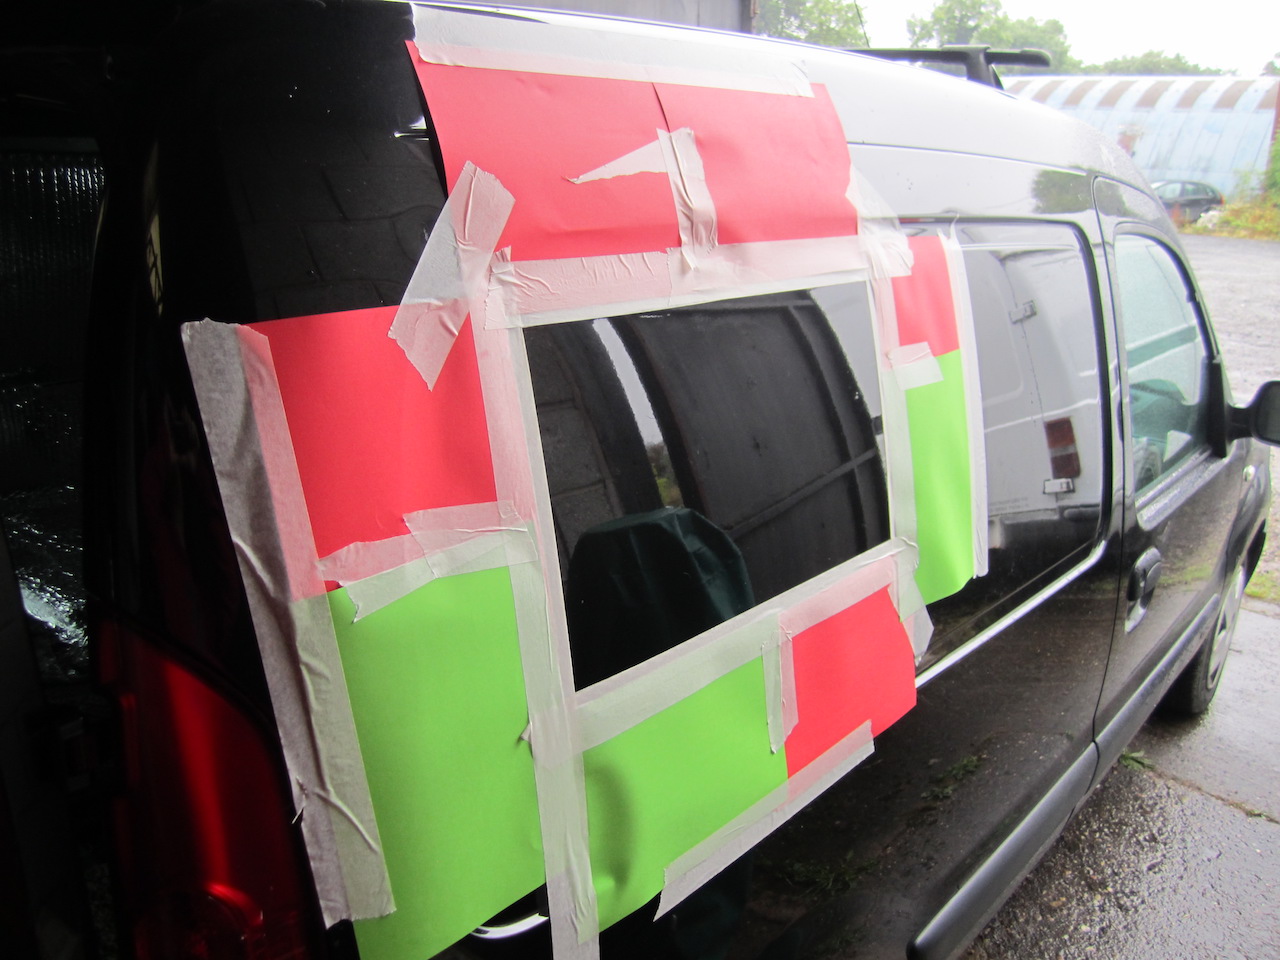
Carefully measure the size and mask it off.
This was definitely a measure twice, cut once situation. Well, measure twenty times actually.
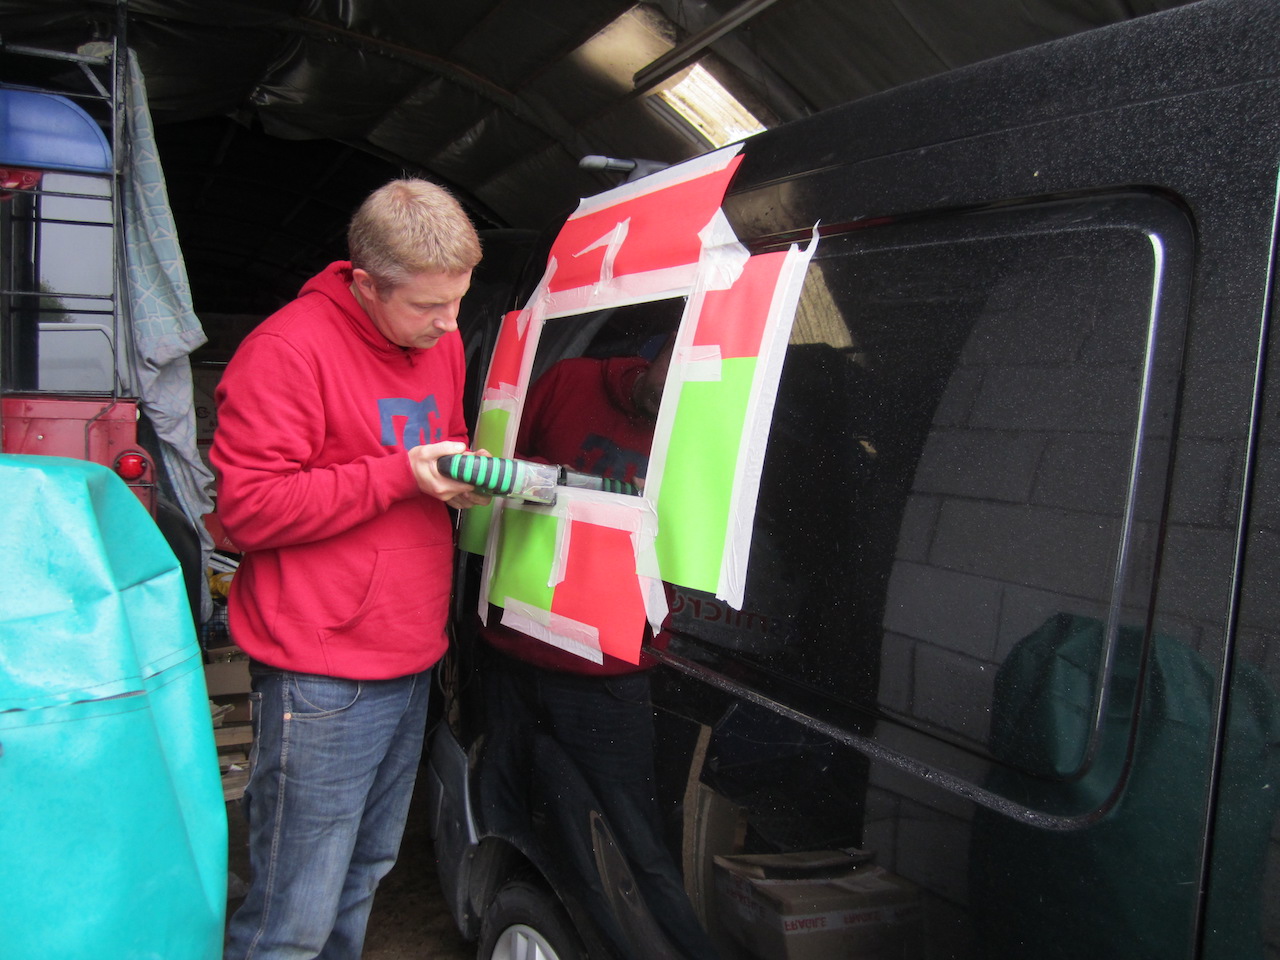
Using the jigsaw, off I went!

Neaten up the edges with the grinder.
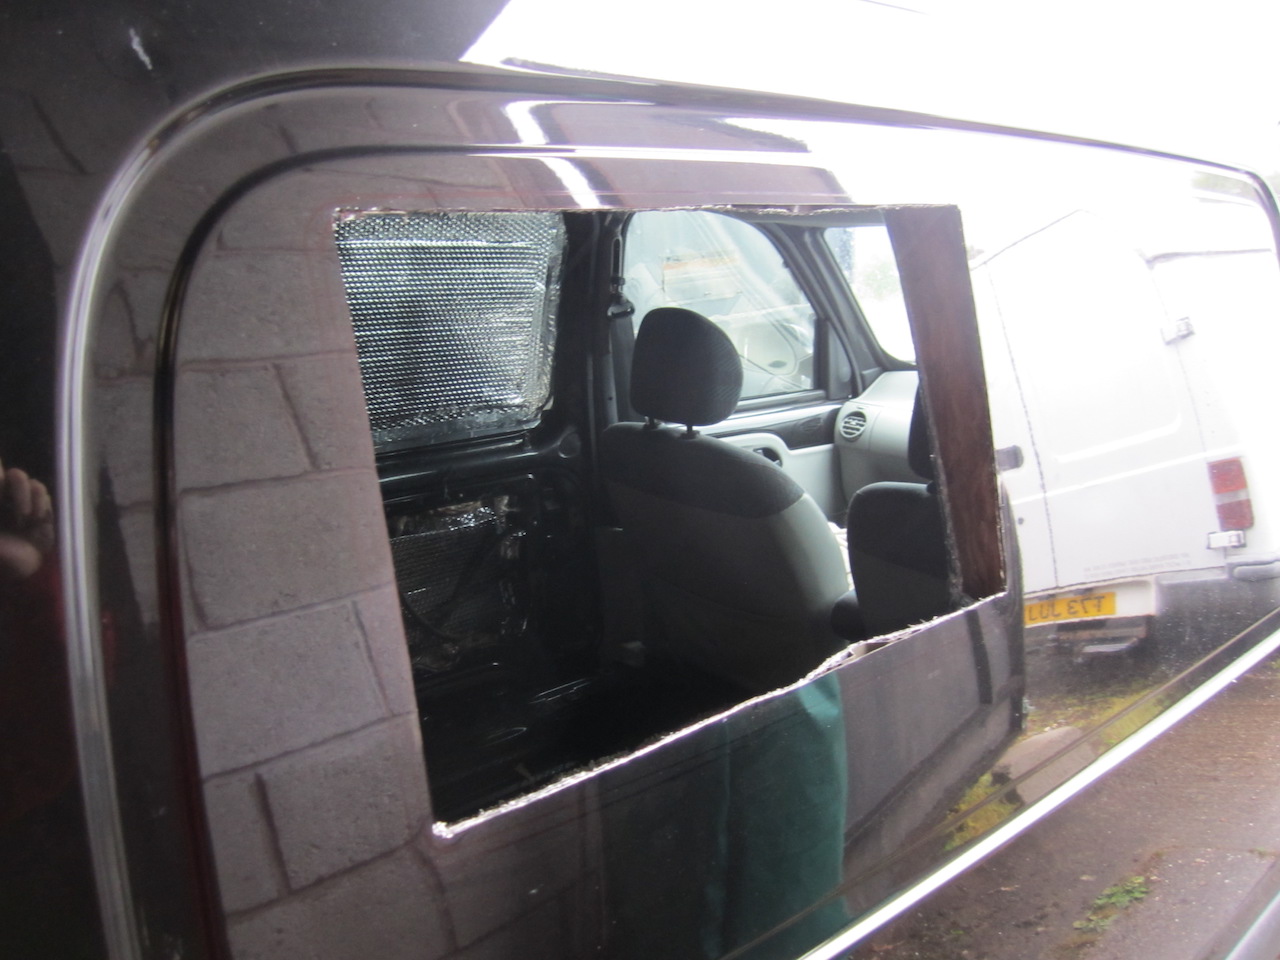
Hammerite the cut edges for future rust protection.

Then a face appears at the window! I’ll have a double ’99 with Flake, please!
Time to fit the ply lining and carpet it…
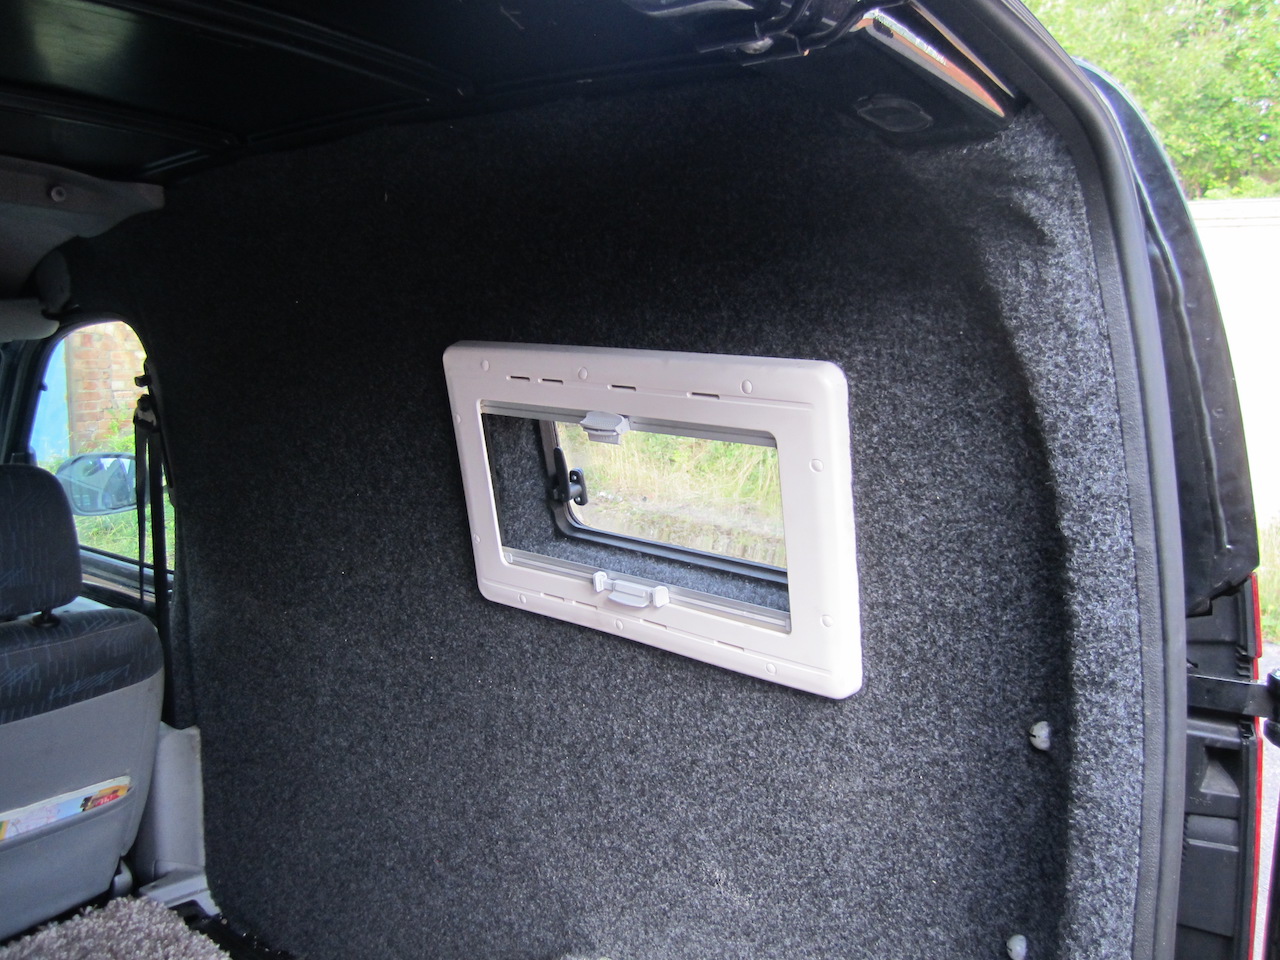
Fit the window… and now it’s starting to take shape!
The interior
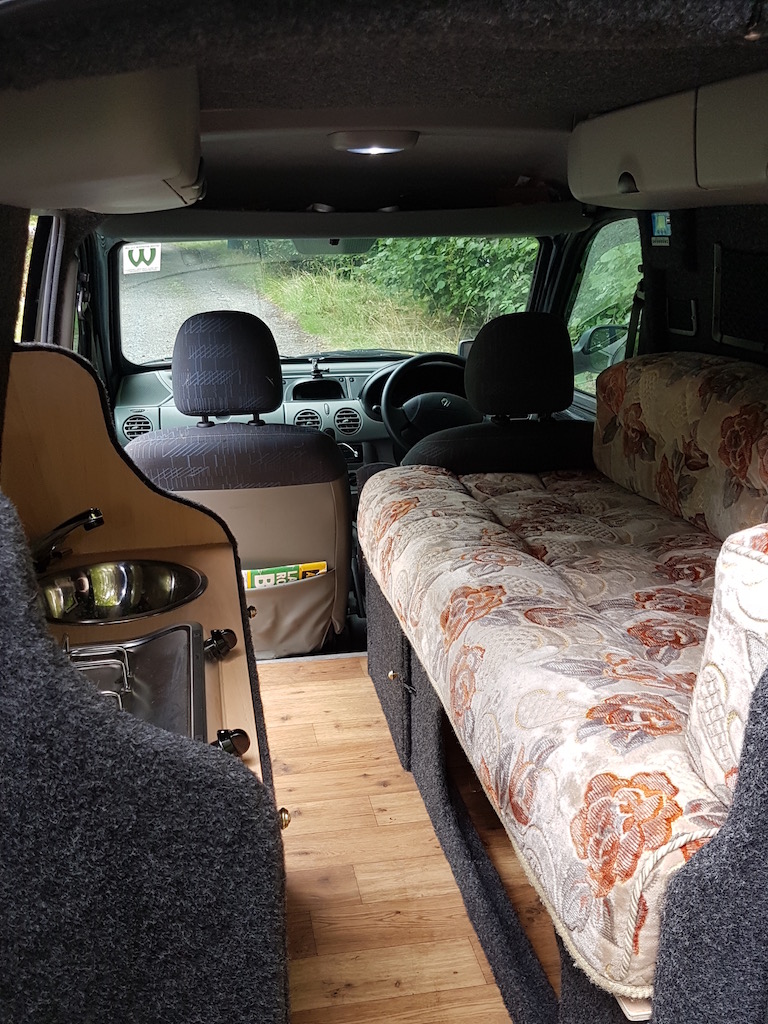
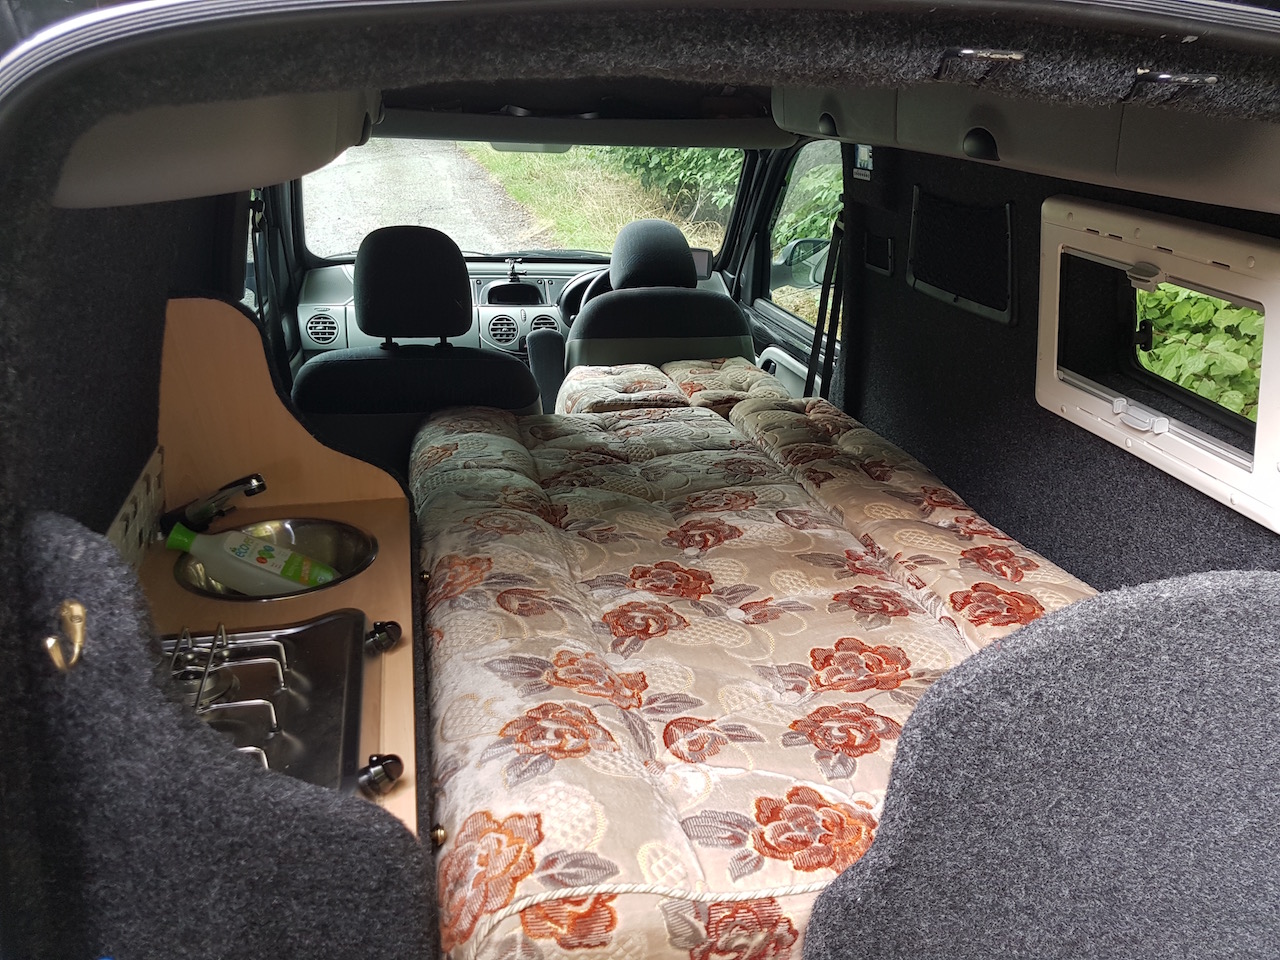
I sourced some new, really good quality caravan sofa cushions and built the bed frame and kitchen units by hand.
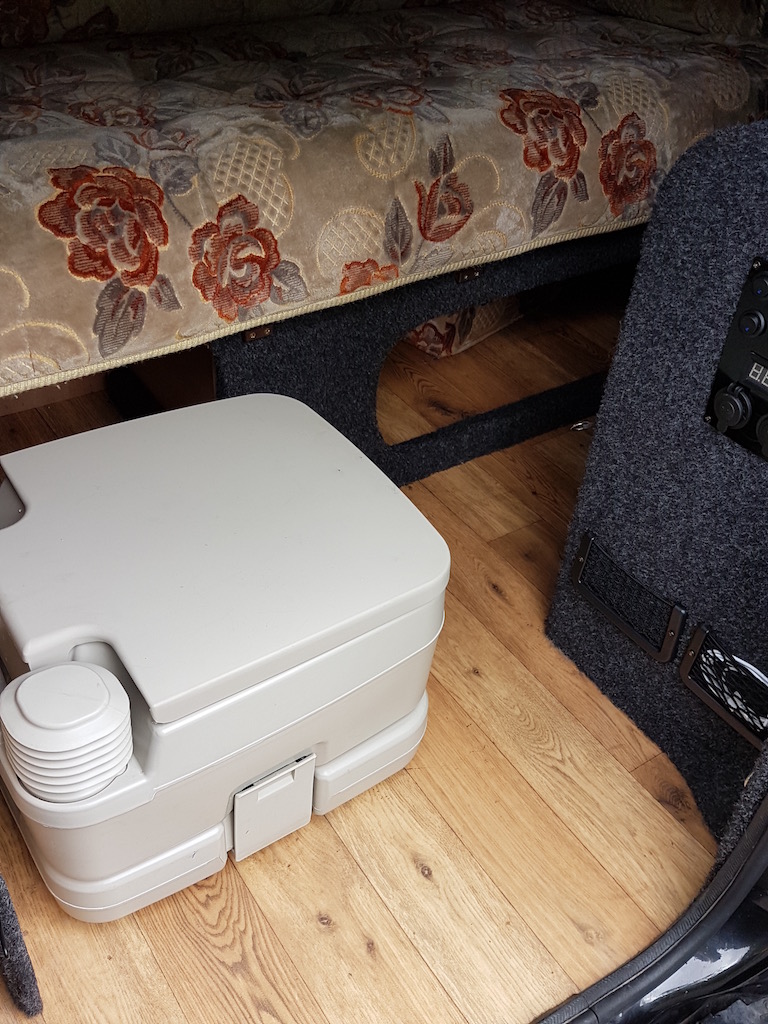
Below the sofa is storage for the pull-out toilet.
I’m hoping not to have to use it very often but it’s always good to have one!
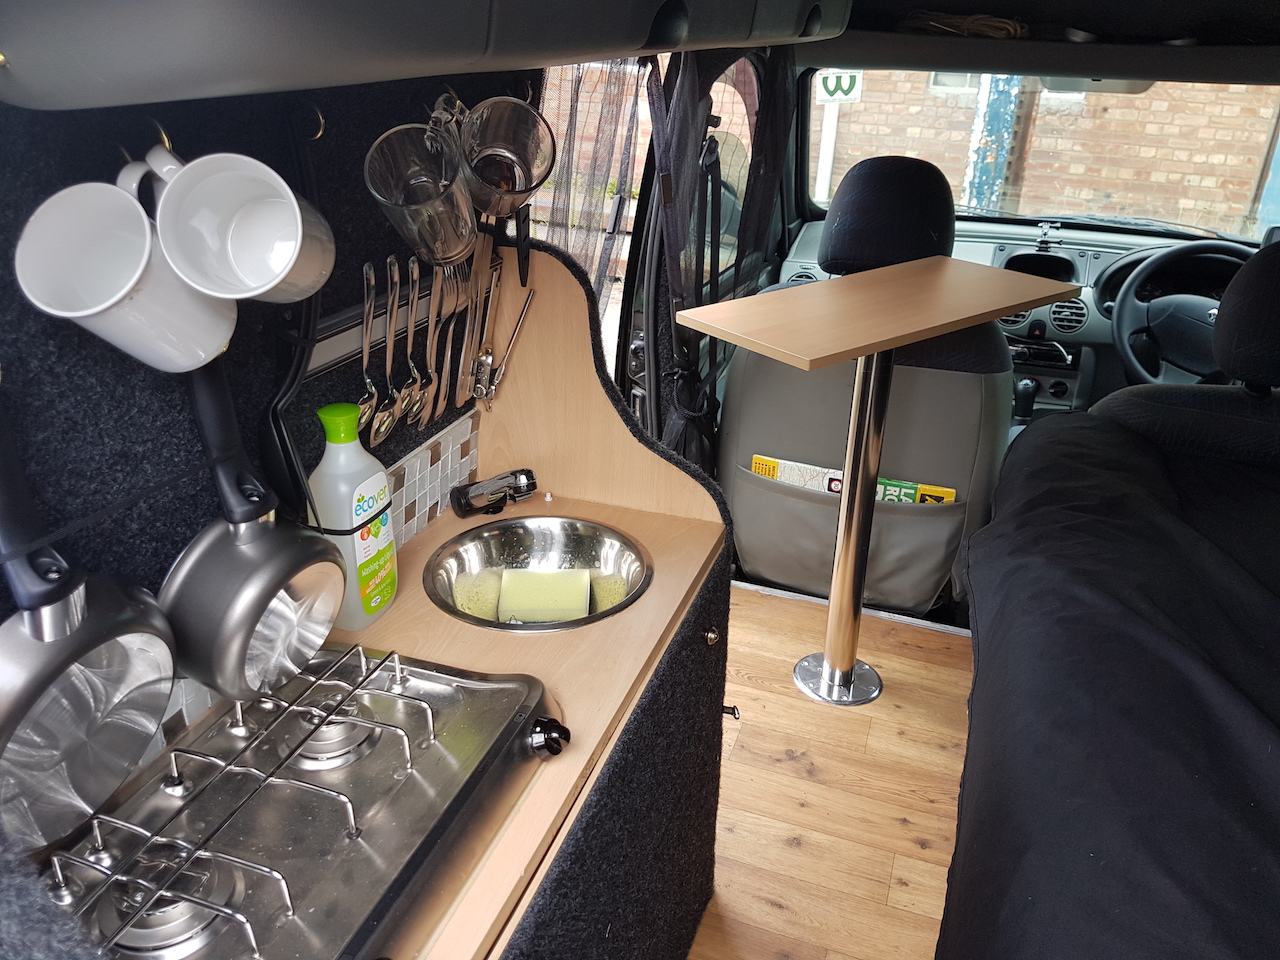
The kitchen has a two burner hob and sink with running water.
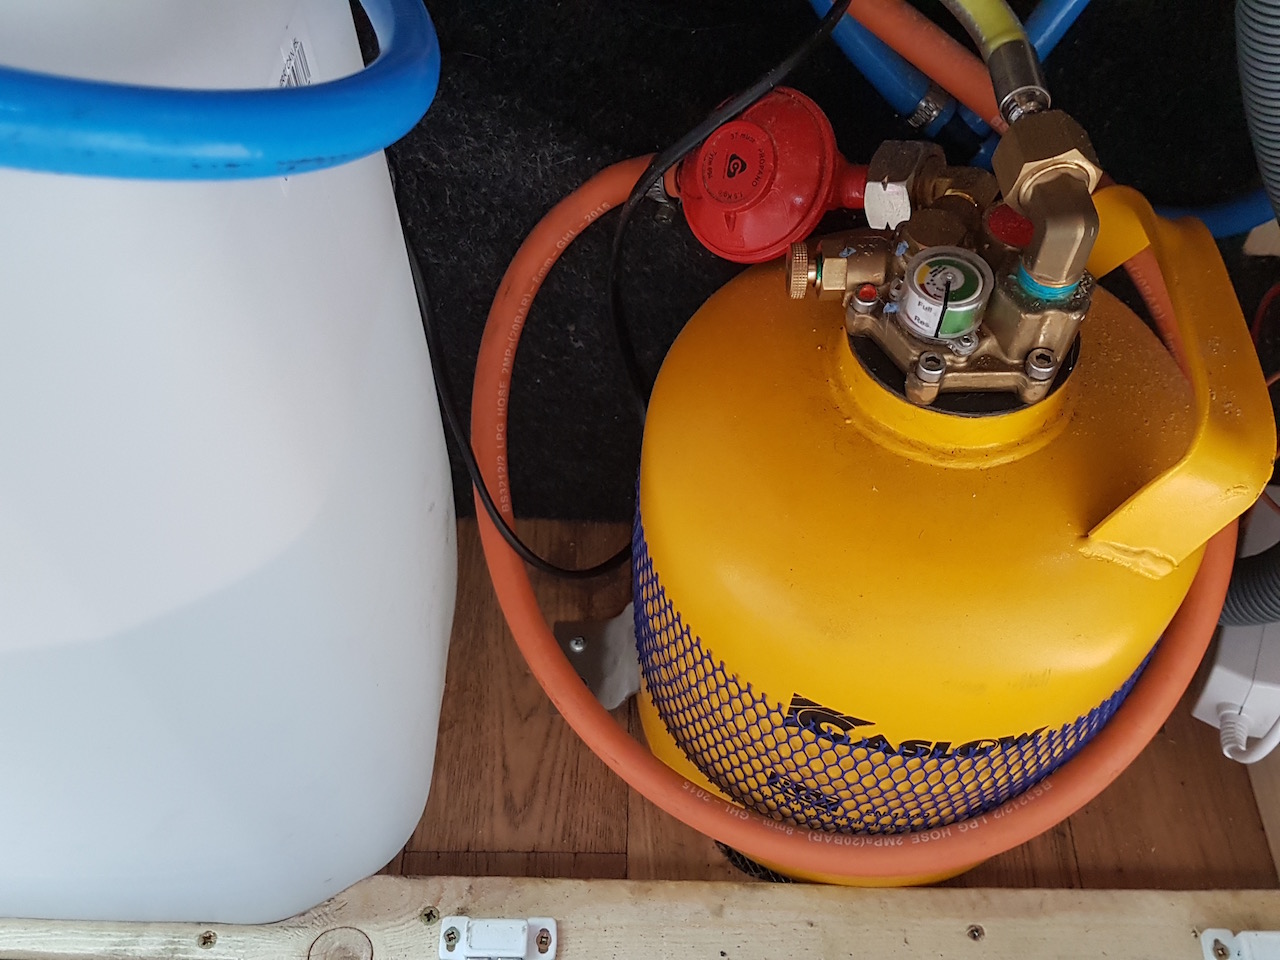
Inside the kitchen unit is a 25 Litre water container. This has quick release fittings for easy removal for taking to a tap to fill.
The gas system is a Gaslow LPG 5 Litre cylinder. On the outside of the van I have fitted the filler connection for use at any petrol station that sells Auto Gas.
An important safety feature here is the 70mm gas leak vent in the floor. In the event of a leak, the gas can escape out of the vehicle. Come to think of it, so can any water leak!!
My initial LPG fill from empty cost me a massive £2.73. Last of the big spenders that day!
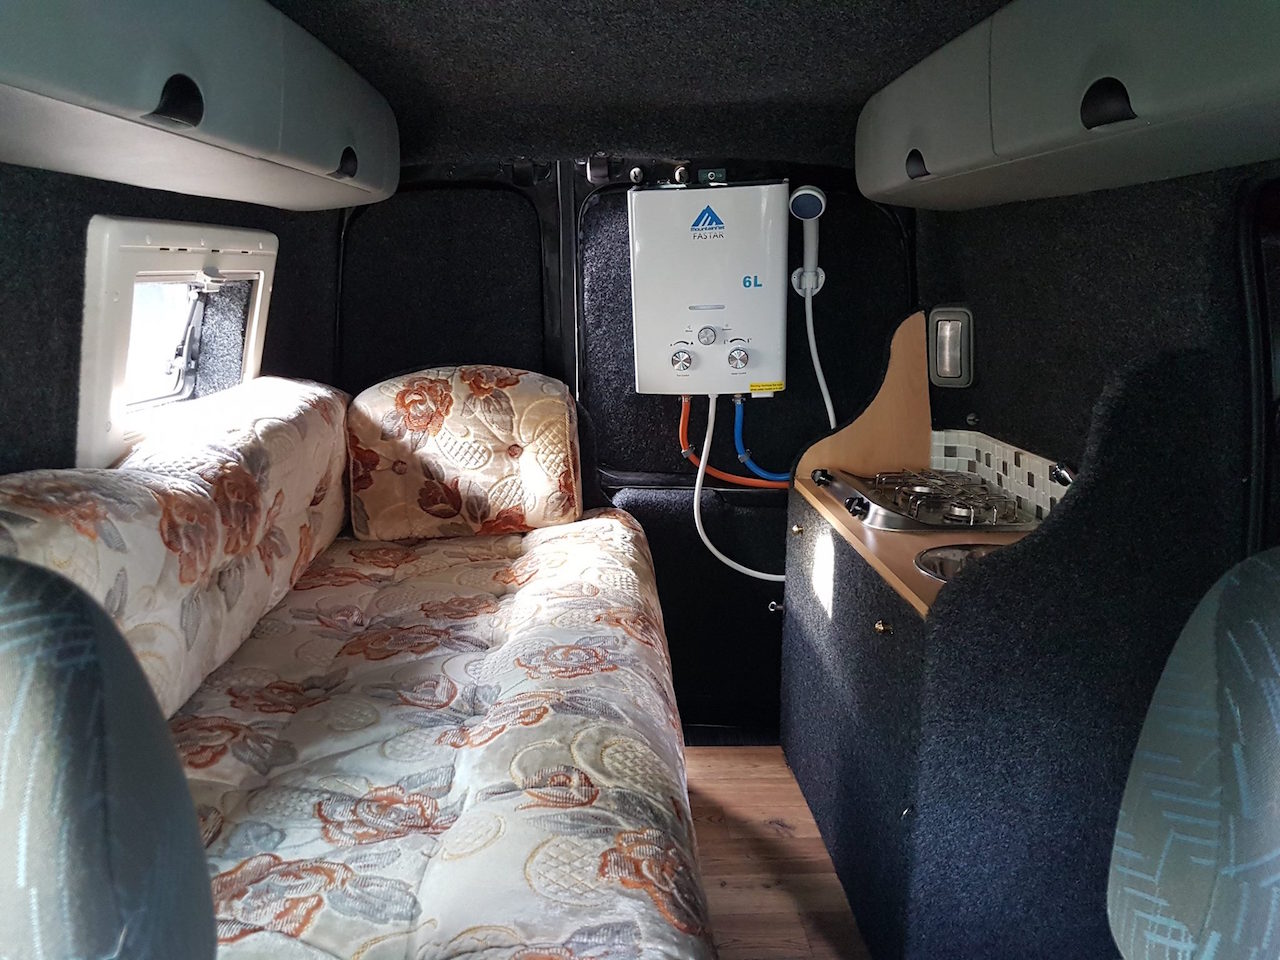
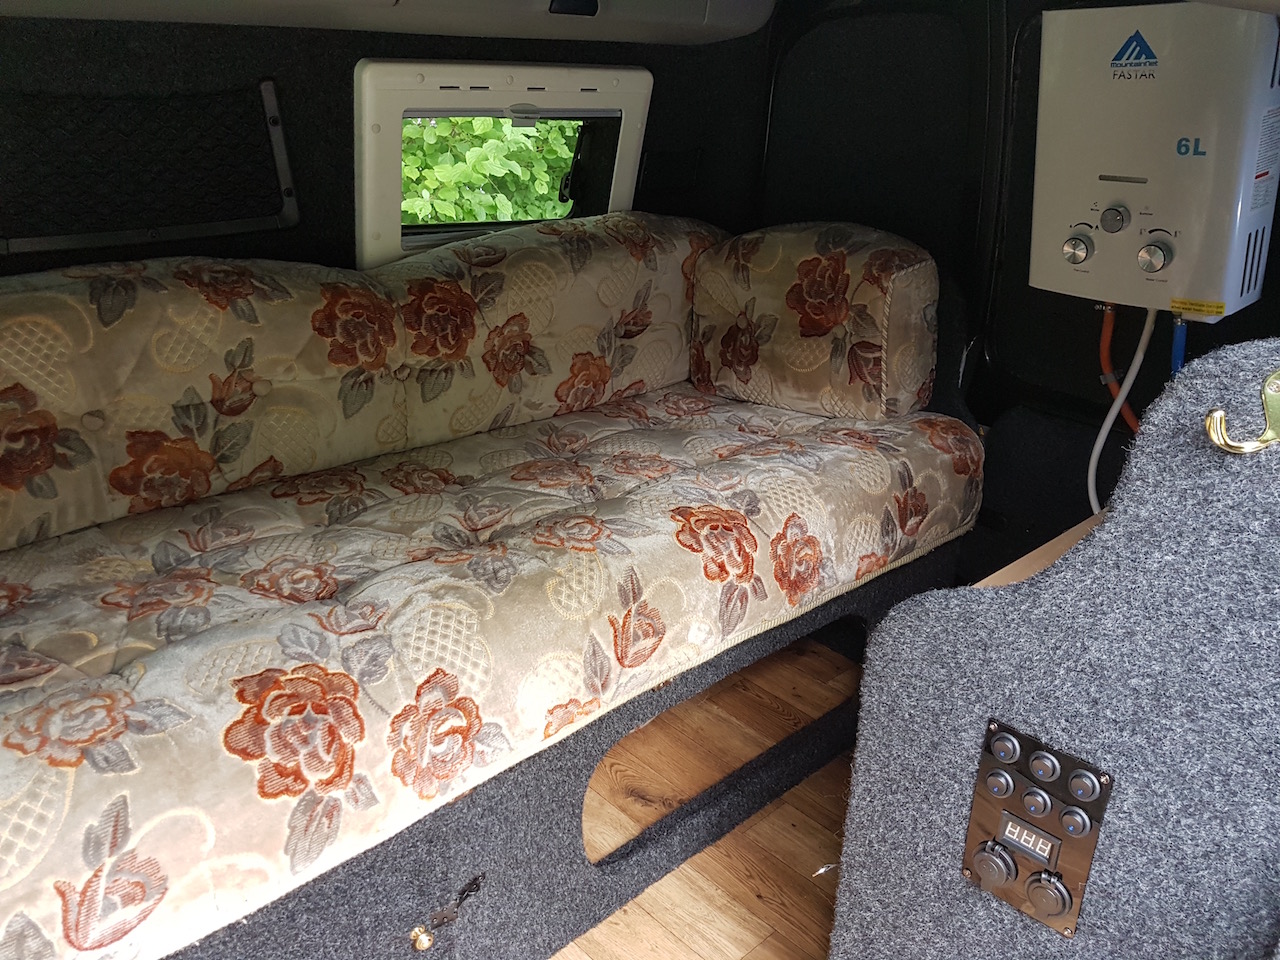
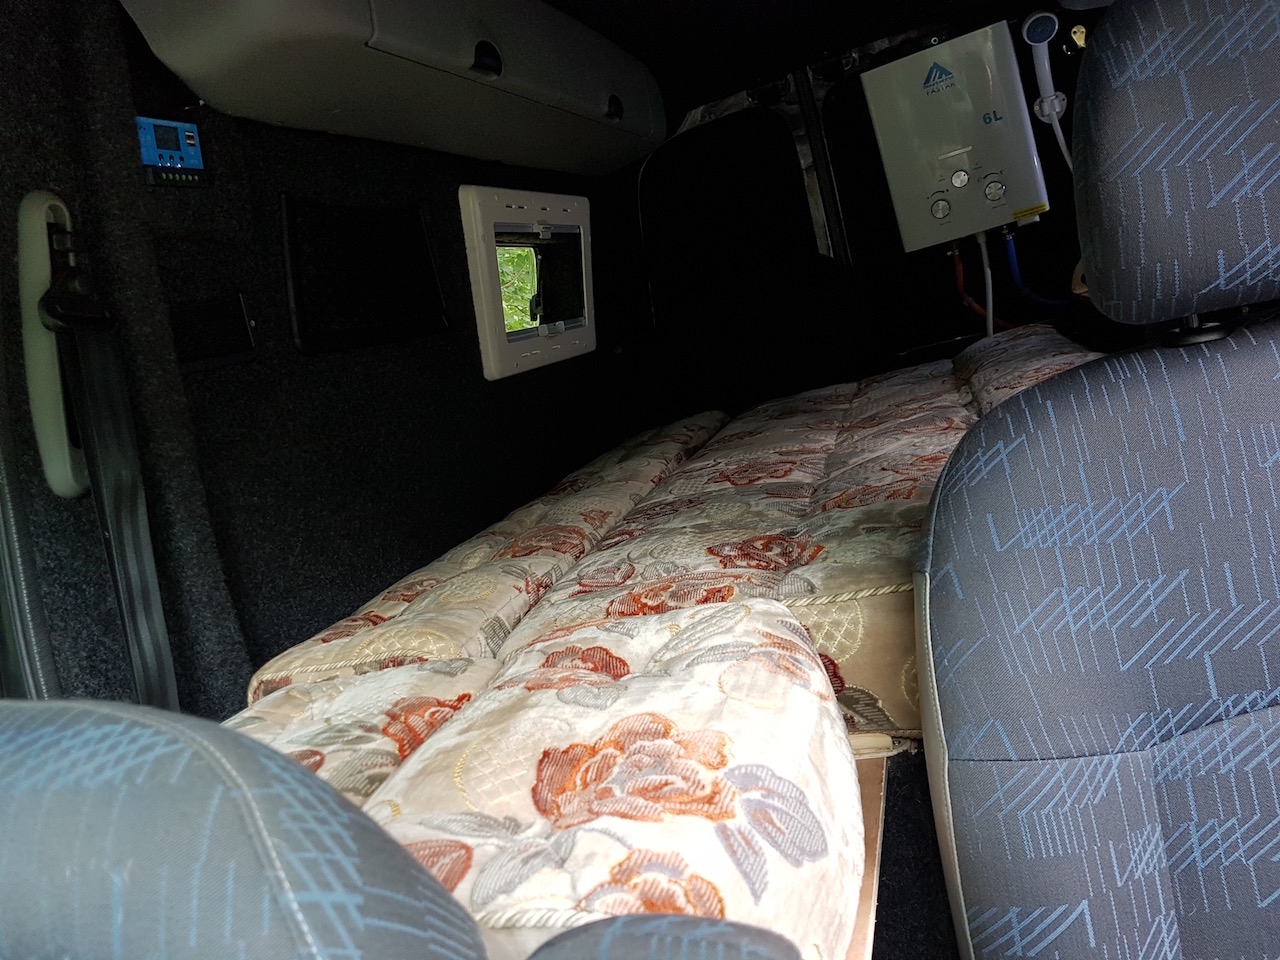
Mounted on the back door is an LPG shower unit. This provides up to 6 Litres per minute of hot water.
Simply open the back door, put the shower head on the outside of the van using a suction mount holder, flick the pump on and the boiler will fire up and it’s time to get washed. Assuming nobody is outside, of course!
The bed
The bed as a single can sleep a person up to 6’4″ and can be widened to sleep two people if needed.
From a sofa to a bed…
The bed extends into the cab after folding the front seat forward.
Plenty of space and comfort. Just what every Border Collie needs.
Performance
I’m talking engine power here – This 1.5 dCi has been remapped to 120BHP.
If I’m careful, it can return 55-60 miles per gallon. That’s a steady 55MPH of course. If I drive it hard it still manages 44mpg and is able to cruise at a respectable speed.
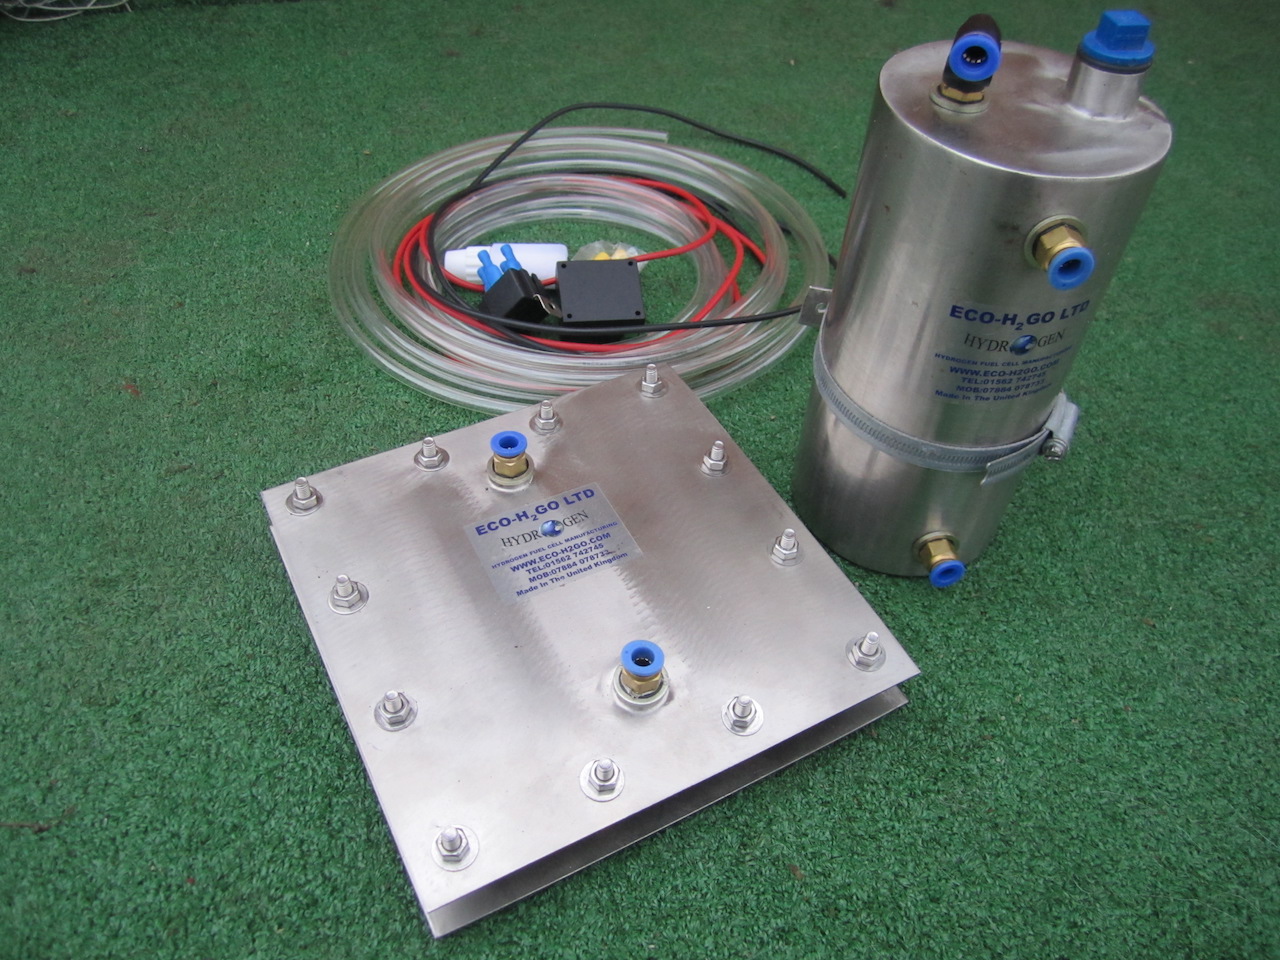
For an extra power and fuel economy boost, I have fitted a Hydrogen fuel cell too. Both this van and my Luton have these now and they really do make a difference.
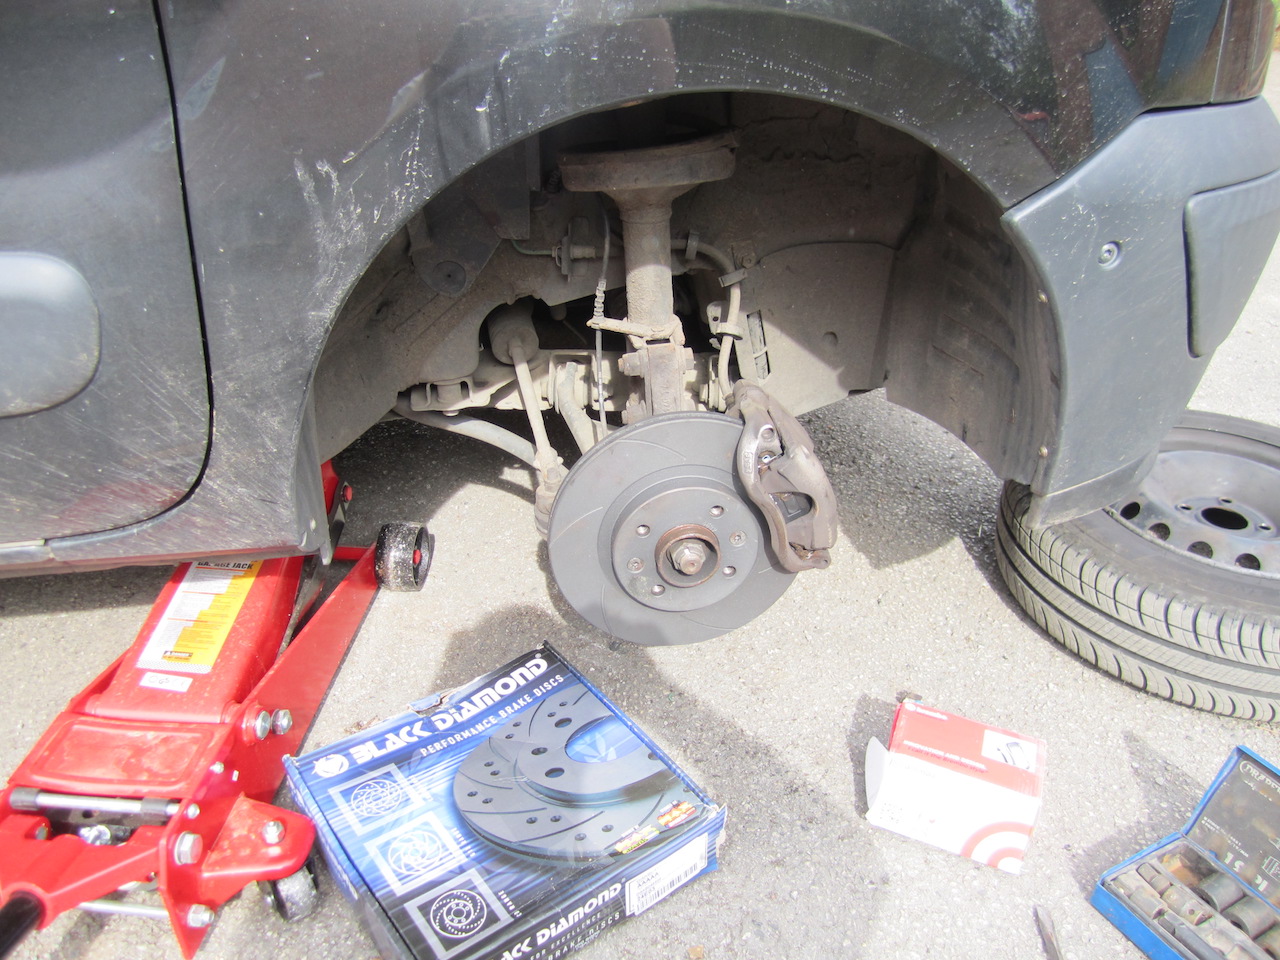
Often overlooked, but highly essential is up rating the brakes when increasing the engine power. It’s always useful to be able to stop quickly too!
I was amazed at how straight forward it was to replace the front brake discs and pads on a Kangoo!
Electronics
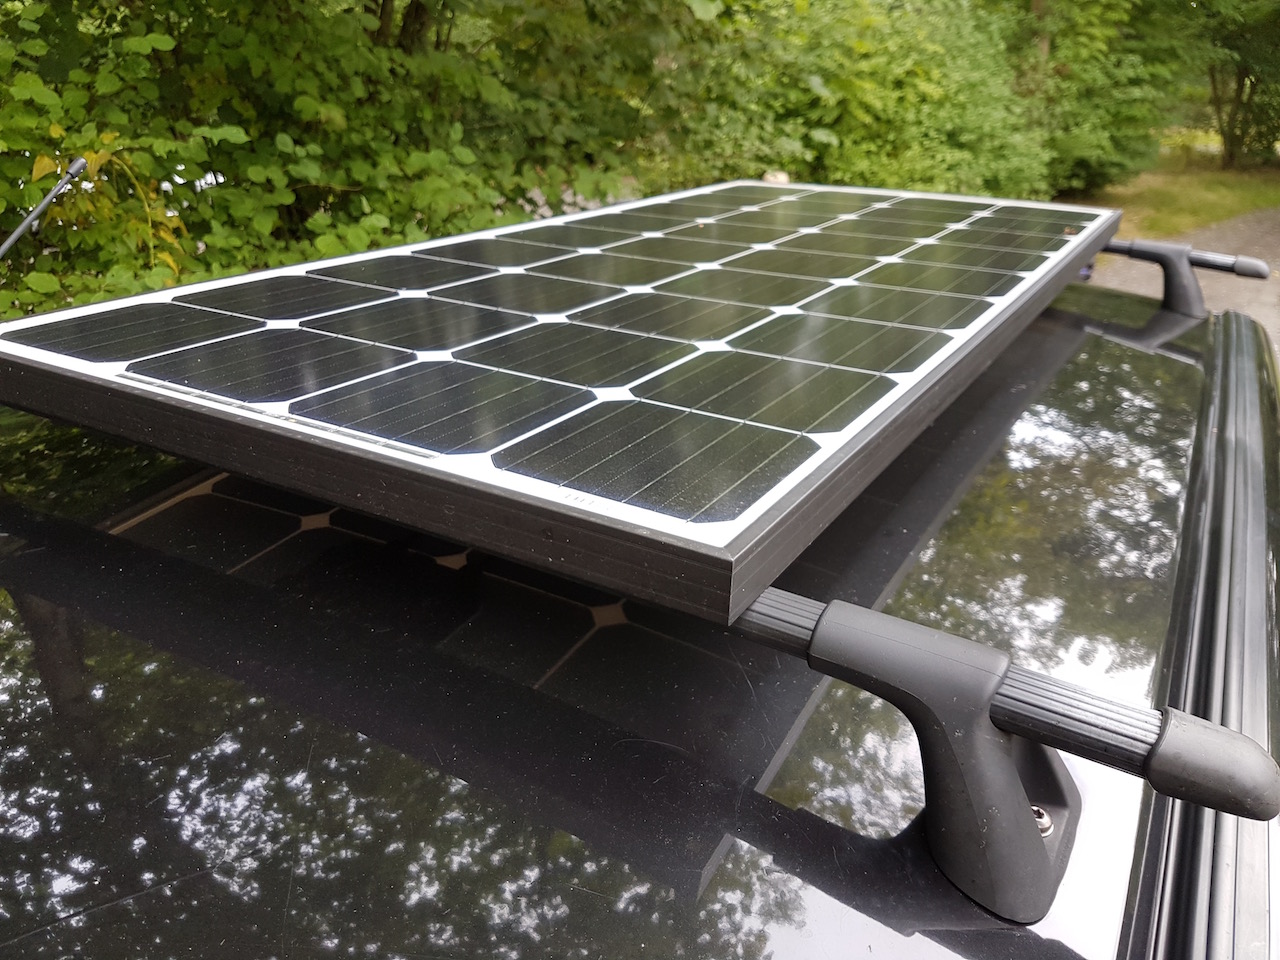
Mounted on the roof is a 150 Watt solar panel. This is linked via a controller to the 135AH leisure battery which is located under the sofa, behind the toilet compartment.
The solar controller has a couple of USB charge ports which are handy and I’ve fitted a 12V control panel which switches on the water pump, cool box power supply, laptop charger, etc. This also has a 12V lighter socket and some extra USB charge ports.
Storage
Storage is limited, the van isn’t physically big enough to have loads!
I have fitted locker boxes at high level – these provide really useful storage and are out of a Kangoo car. The Kangoo Treka and Expression have them fitted as standard and they (almost) bolt straight into the Kangoo van.
Beneath the sofa is more storage – ideal for bedding. This is accessible from both the front and via the back doors. An overhead shelf above the cab offers additional space for bits and pieces.
Carefully positioned in the back are various storage nets and hooks.
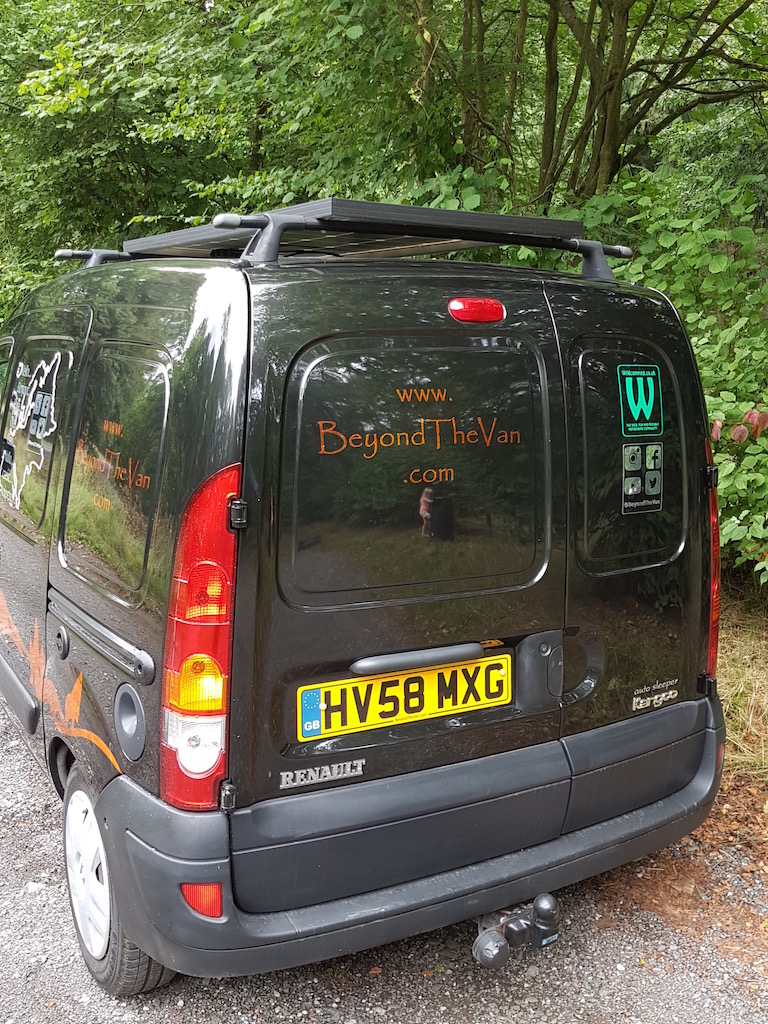
Graphics
I wanted to keep the Beyond theme so decided to make the same style graphics as I did for my Luton conversion. The metallic orange should look pretty awesome on a black van…

Nice and friendly for visiting European countries.
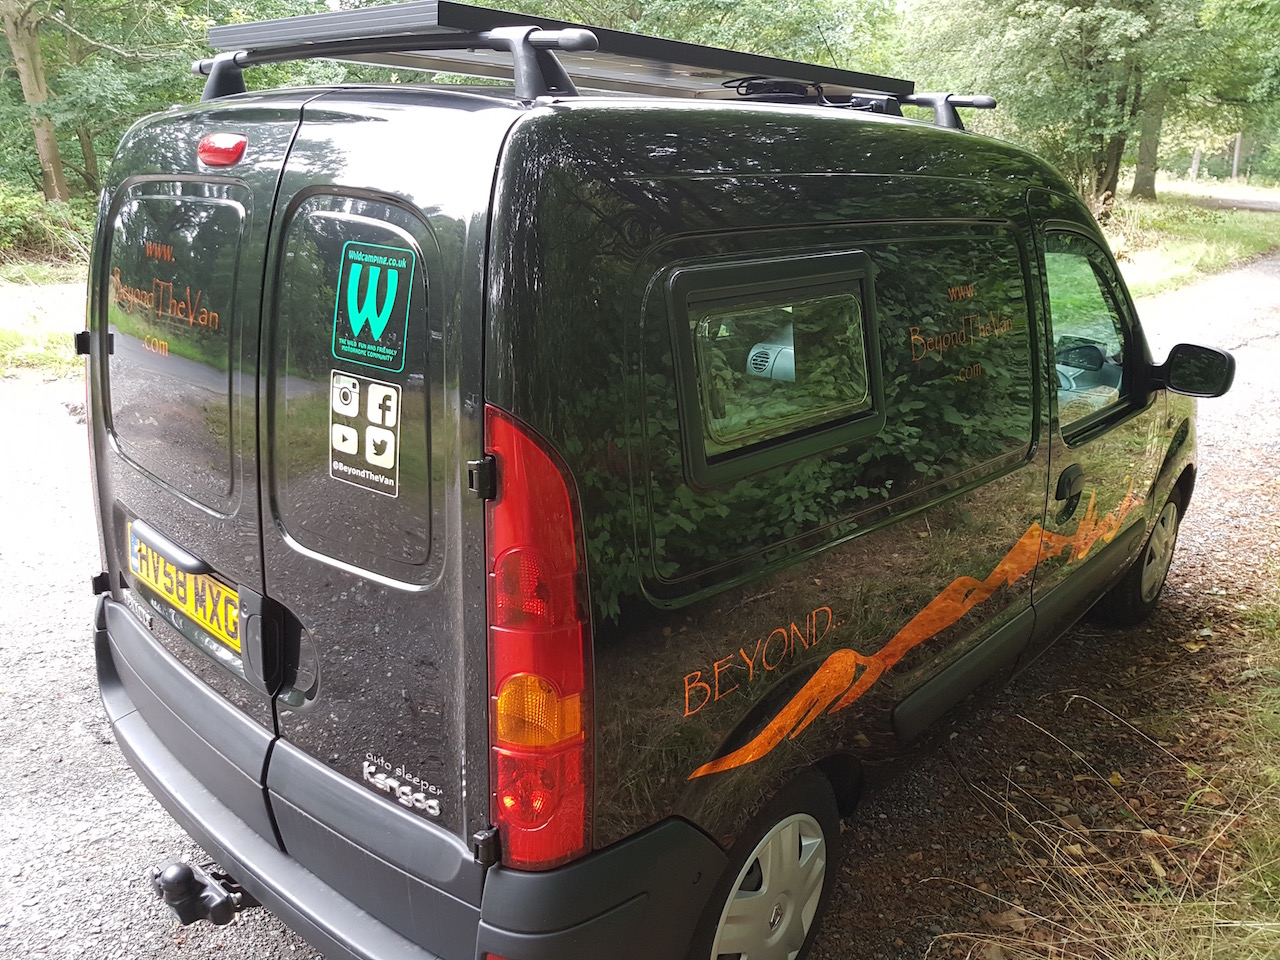
Links to BeyondTheVan Facebook, Twitter, YouTube and Instagram pages as well as the obligatory “W” for WildCamping.co.uk on the back!
New number plates too, just to finish it off nicely.
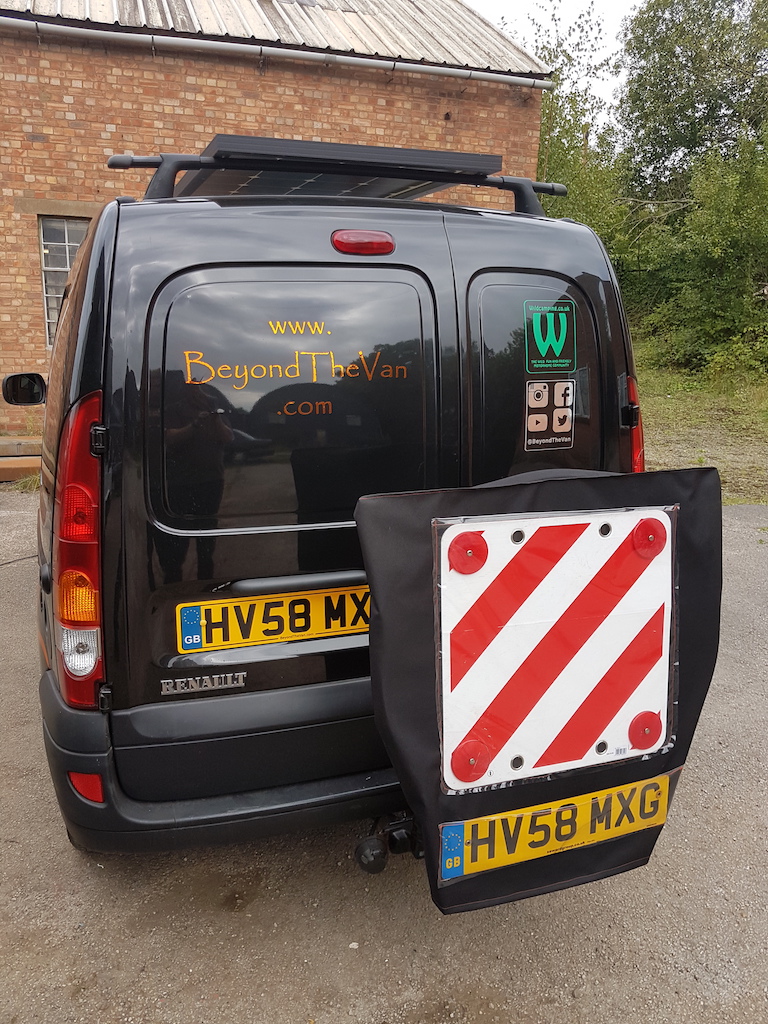
The satellite dish for broadband is mounted on the tow bar. Easily detachable and easy to open out to use when parked up anywhere in Europe.
Massive thank you to my Mum for making the awesome satellite dish cover!!
A pretty good result!
As you can see, I met my criteria for the Kangoo micro camper travel van.
I was most impressed by the water pressure from the shower. Considering it’s powered only from a 12V pump inside the water container, the pressure is immense!
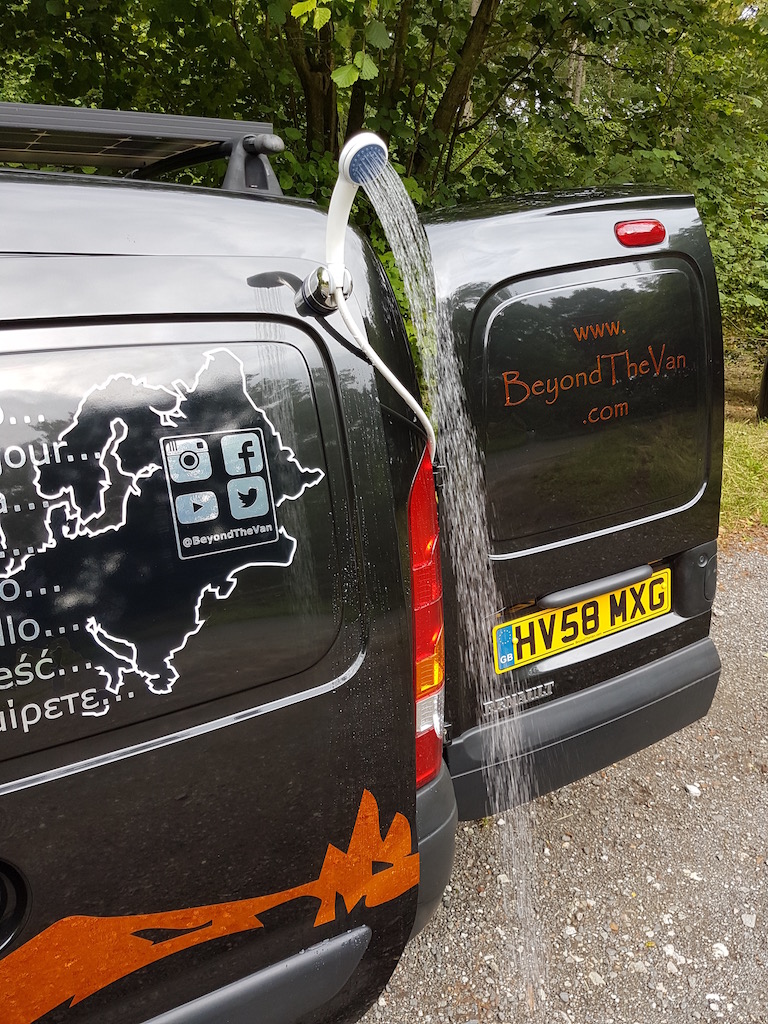

Half a shower cubicle with the back door opened wide!
A guided tour!
I thought I would have a go at making my first video and and learn to video edit. Apologies for the not so great audio levels in this one, I’ve since learned how to get that bit right!
Sadly, this van got written off a few months after it was converted. Not me at fault though! I did however enjoy 5 weeks in Portugal in it before returning to the UK and having the accident…
